Console Shift Indicator Light Replacement
Author: Earthworm
Printable Version | Submit FeedbackI decided to put this together because I've tackled this job and realised that there is more work to this replacement than there may seem. It's not hard but the location of particular items may be fun to find. Total time to complete this task should be probably around an hour...give or take.
Tools you will need
- Phillips screw driver
- Replacement bulb (standard 194 wedge bulb)
Step 1 (Trim Removal) - It may not be required but it gives you a good idea of what you'll be looking at later. The panel is held in place by 4 clips (2 on each side). I found the easiest way to do this is to start with the front left corner and work counter clockwise until you get all the clips.
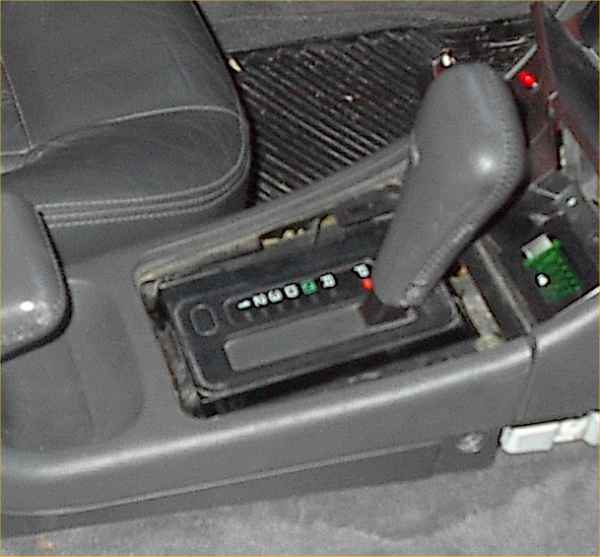
Figure 1
Step 2 (more trim) - There are two more trim pieces (one on each side) that need to be removed in order to gain access to screws required to remove the center console. These are the panels as shown in figure 2. These are held in by three plastic fasteners and a tab into the rear console section. Because of this tab you must remove this panel starting at the front side of the car or else you will probably break it.
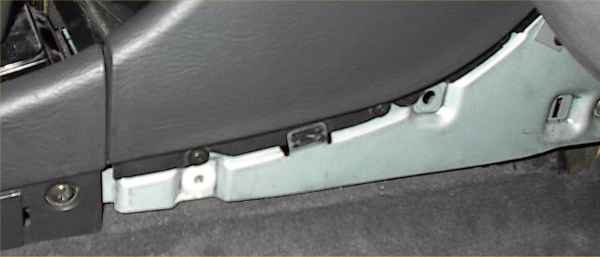
Figure 2
Step 3 (console removal) - This whole job would be much easier if we didn't have to remove this part but I found there was not enough room to get access to the bulb without doing this. There should be five screws holding the console in place unless yours is broken in which case there may be only two. Three screws will be in the console box under the mat and one behind each panel we removed in step 2. You will also need to remove the plastic cover so that you can lift the console past the emergency brake handle. It should pull out easily.
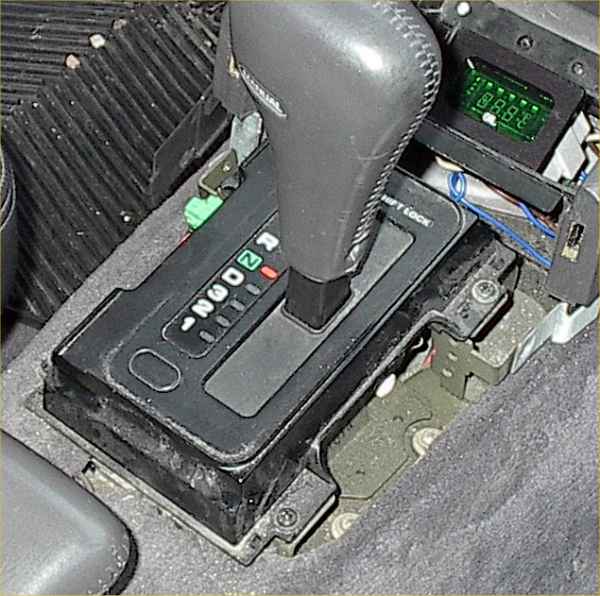
Figure 3
Step 4 (indicator assembly removal) - This also may not be necessary to get the bulb out but will definitely make it easier to get the bulb back in! We start by removing the shifter "knob" by removing the two screws holding it on (one on either side). The knob then slides up and off the shifter. The button and spring will probably pop off when you do this so don't panic, putting it back together is easy. Subaru gives us barely enough wire to get the knob off the shifter. The rest is getting straightforward. Remove the four screws holding the indicator assembly in place and you will see the bulb socket on the left as shown in figure 4.
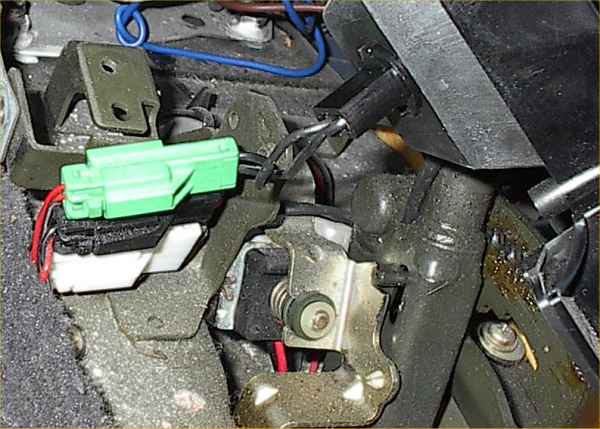
Figure 4
Step 5 (the home stretch) - Unscrew the bulb socket and replace the bulb. Now would be a good time to turn on the ignition and headlights just to make sure the bulb is working. If it's working then go ahead and put everything back together in the reverse order we took it apart. If the bulb doesn't work then we have bigger problems (maybe a bad fuse).
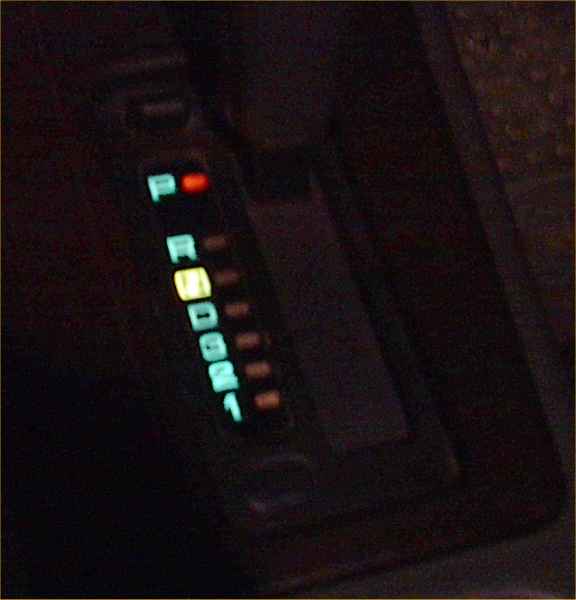
The Final Product